
BuildMEP practical ductwork guide
An AutoCAD duct takeoff to Excel needs more than a combined length. A single total duct length cannot tell you how much sheet metal a mixed-size layout needs. Measure each size separately, then multiply its perimeter by its straight length. This worked example follows that process from an AutoCAD measurement schedule to Excel.
Scope: straight rectangular duct quantities • AutoCAD measurement to Excel
1. Define what the takeoff includes
Use the approved drawing revision and record its reference in your estimate. For this exercise, measure only open-ended, straight rectangular duct bodies. Mark the boundary between each straight piece and its adjoining fitting. Schedule elbows, branches and transitions separately so a centreline passing through a fitting does not also become straight-duct metal.
If you need an initial sizing check before estimating material, use the BuildMEP duct size calculator. For an estimate of an approved design, use the specified sizes rather than changing them to suit the takeoff.
2. Annotate the drawing by size
Give every measured straight item a unique reference. A size change starts a new group, even when the duct continues along the same route. The schedule below connects each example drawing label to its measurement. It is a quantity record rather than a shop drawing.
| Drawing label | Duct width × height | Straight item lengths | Group total |
|---|---|---|---|
| A1–A2: main before transition | 600 × 300 mm | A1 = 5 m; A2 = 3 m | 8 m |
| B1–B2: main after transition | 400 × 250 mm | B1 = 4 m; B2 = 2 m | 6 m |
| C1–C2: two runouts | 250 × 200 mm | C1 = 2 m; C2 = 2 m | 4 m |
| F1 and F2: transition and branch fitting | Varies | Excluded from straight measurements | Separate fitting schedule |
Trace one measurement path for each straight item. On a double-line drawing, selecting both side edges counts the run twice. Keep labels, dimensions and unrelated geometry outside the measurement selection. A colour or layer can help isolate a group, but confirm the selected objects against the size annotations.
3. Measure one group at a time in AutoCAD
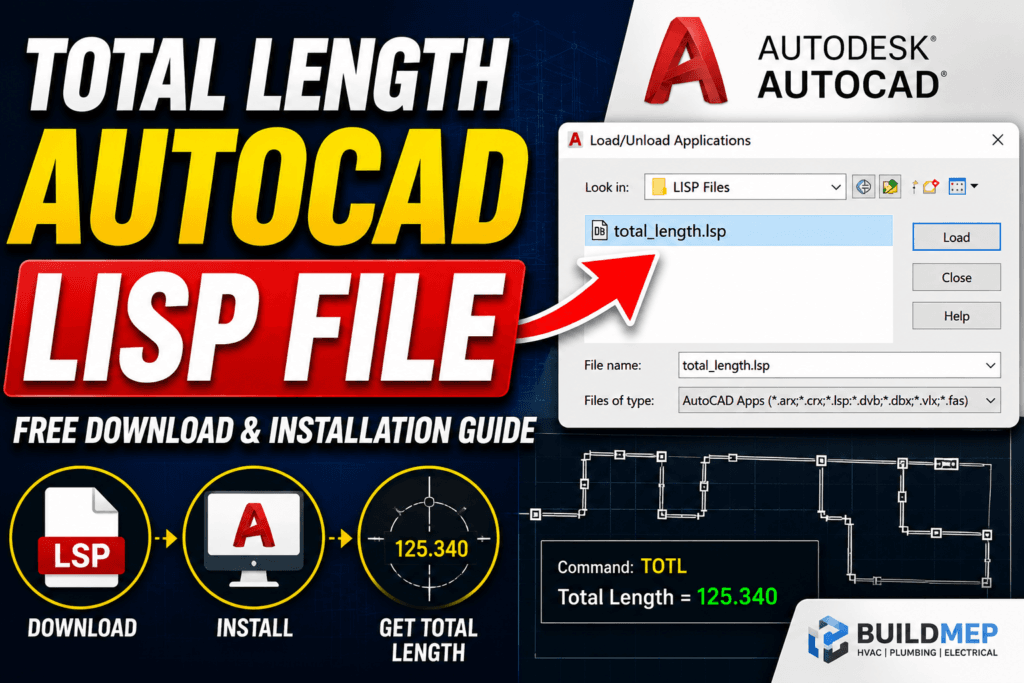
The Total Length AutoCAD LISP guide links to the publisher’s TLEN program and explains loading and compatibility checks. Follow that publisher route, validate a known length, then use TLEN on the straight measurement objects for group A only. Repeat for B and C, recording each selection and result.
Read the selected length in drawing units at the command line; check the publisher’s TLEN output and settings rather than assuming an automatic metre conversion. In this assumed millimetre drawing, the group results are 8,000, 6,000 and 4,000. Divide each by 1,000 to obtain 8, 6 and 4 metres. Check a known dimension before converting; a units setting alone does not prove how existing geometry was drawn.
Check for overlapping or duplicate measurement objects. Inspect blocks and referenced drawings separately rather than assuming a selection includes their nested geometry. Account for vertical sections explicitly when the plan does not represent their developed length.
4. Enter the size groups in Excel
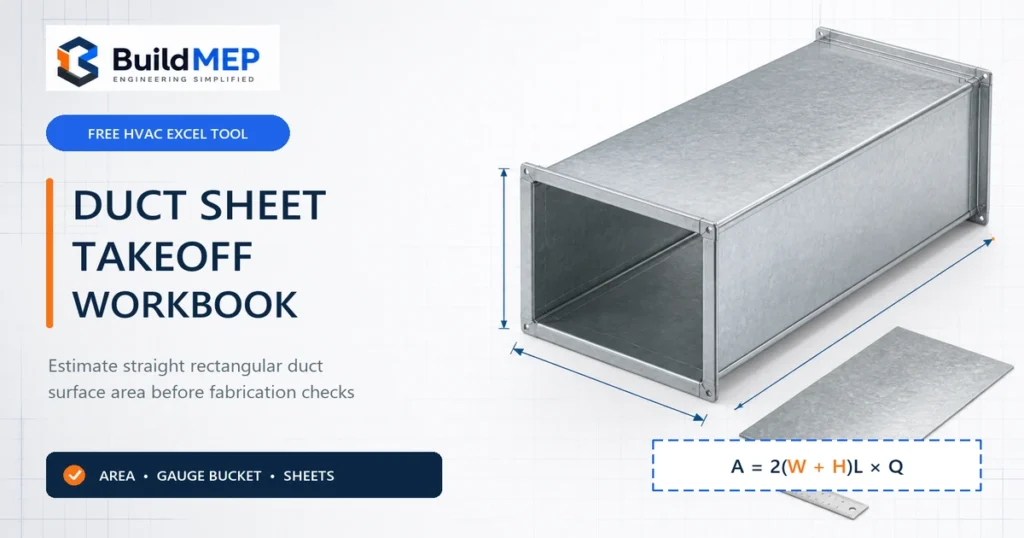
Open the free duct sheet takeoff workbook and its usage notes. Its geometry inputs use width and height in millimetres and length in metres. For this summary, enter each group’s accumulated length once with quantity 1. Do not also multiply by the number of segments already included in that total.
| Group | Quantity | Width (mm) | Height (mm) | Length (m) | Perimeter (m) | Straight area (m²) |
|---|---|---|---|---|---|---|
| A | 1 | 600 | 300 | 8 | 1.80 | 14.40 |
| B | 1 | 400 | 250 | 6 | 1.30 | 7.80 |
| C | 1 | 250 | 200 | 4 | 0.90 | 3.60 |
| Total | — | — | — | 18 | — | 25.80 |
5. Reconcile before issuing the estimate
| Check | Expected result | If it differs |
|---|---|---|
| A + B + C straight lengths | 18 m | Review selection boundaries and unit conversion |
| Sum of manual straight areas | 25.80 m² | Review size labels, length entries and quantity multipliers |
| Excel straight-area total | 25.80 m² | Check each row against the independent arithmetic |
| Fittings and fabrication allowances | Separately scheduled; not calculated here | Do not treat the straight total as the complete order |
Using the largest size for all 18 m would produce 1.80 × 18 = 32.40 m², overstating this example by 6.60 m². Using the smallest size would produce 16.20 m², understating it by 9.60 m². That is why a combined length must remain split by size.
Retain the item references, drawing revision, drawing units, converted lengths and independent checks with the estimate. Another reviewer should be able to trace each Excel row back to its measured drawing items.
What still needs checking before procurement?
This exercise stops at net straight-body area. Confirm fitting developments, seams, joints, reinforcement and the actual stock-sheet cutting plan before purchasing. The workbook’s size buckets do not establish construction compliance; pressure class and the project-specified standard require separate verification. See the workbook page for its full limitations.
The practical sequence is: confirm sizes, isolate straight items, measure by size, convert units, calculate each group’s area, reconcile the total, then complete the fabrication and procurement takeoff.
Technical review: 24 October 2026. This guide supports planning and review. Confirm the exact manufacturer documentation and project requirements before procurement or work on equipment. Cover artwork is a conceptual illustration, not a product identification photograph.